This is a very simple tutorial, so lets get started. I'm using this photograph

To this

Step 1-
First of all open your photograph.And then unblock the photo layer by double click on it and after that press OK.
After that go to Filter > Noise > Dust and Scratches. Set the Radius to 2 and Threshold 0.

Step 2-
After that duplicate the photo layer. Select duplicated photo layer, go to Filter > Blur > Gaussian Blur. Set Radius to 4.
Step 3-
After that make a Layer Mask on the duplicated layer. On the mask, create a Radial Gradient as shown in the screenshot below.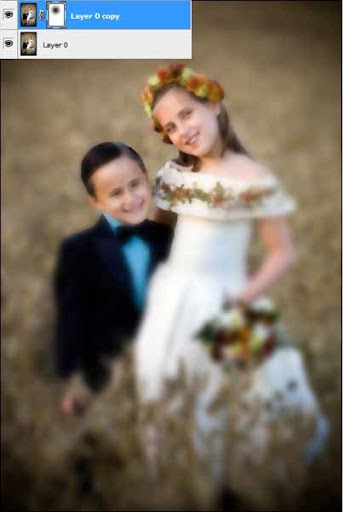
Step 4-
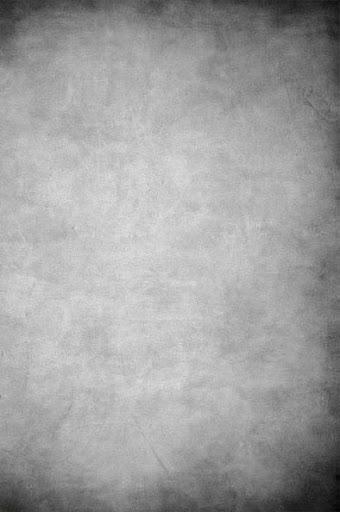
After that Download "Vintage Background". Resize it to cover the photograph nicely. Go to Image > Adjustments > Desaturate.I'm using this one.
And then set the Blend Mode of vintage background to Soft Light.
Step 5-
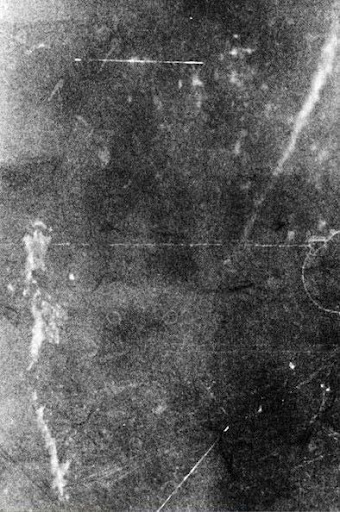
After that Download "Grunge Background". Resize it to cover the photograph nicely. Go to Image > Adjustments > Desaturate.I'm using this one.
And then set the Blend Mode of grunge background to Multiply.
Step 6-
Then, go to Image > Adjustments > Brightness and Contrast. Set the Brightness to 50. And create a Levels Adjustment Layer. Set the values to 15, 1.48, 255.
Step 7-
And the last step is to create a Hue/Saturation Adjustment Layer. Check on Colorize. Set the Hue to 38, Saturation to 22 and Lightness to 0 and its done!For downloading psd file of above tutorial Click here
Tweet
No comments:
Post a Comment