In this tutorial I will teach you how to create a smokey effect like this (Click to enlarge)

So lets get started.
So lets get started.
Step 1-
First of all open photoshop and create a new document with dimensions 1920x1200 pixels. After that apply a gradient by double clicking on Layer Palette and choosing Gradient Overlay. Select Radial for the Style and #07090a - #202b35 as the colors.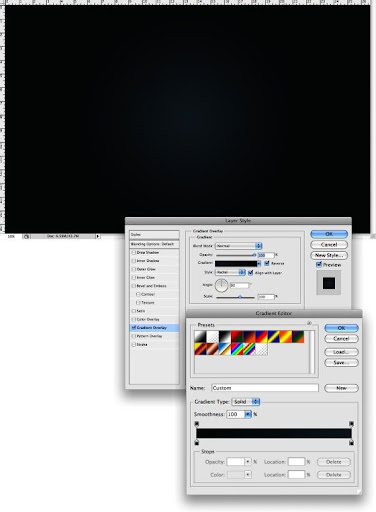
Step 2-
Now, add some text in white color and then go to Filter > Blur > Motion Blur using 90º for the Angle, and 40 pixels for the Distance.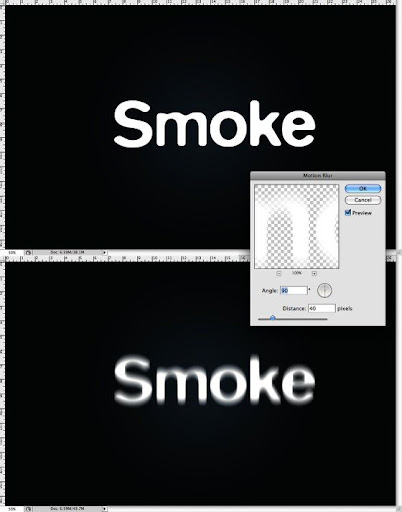
Step 3-
Then, go to Filter > Distort > Wave. Use 3 for the Number of Generators, 10 and 346 for the Wavelength, and 5 and 35 for the Amplitude. (Click to enlarge)
Step 4-
Now to add some light effects which will make your image look really nice. For this go to Filter > Blur > Gaussian Blur. Use 9.3 pixels for the Radius. After that group the layers and change the folder's Blend Mode to Color Dodge.
Step 5-
Now create a new layer on top of the other layers and then go to Filter > Render > Clouds, before that make sure you have black and white for the background and foreground colors, and then change the Blend Mode to Color Dodge. After that go to Layer > Layer Mask >Reveal All, and with a very soft brush, 0% hardness and black color, then hide some areas of the clouds layer like I've done in the image given below.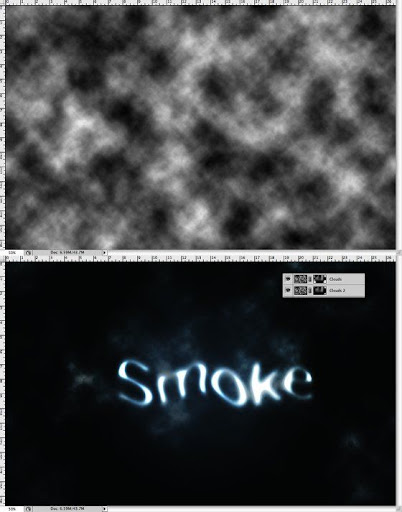
Step 6-
Now, create a new Folder on the Layers Palette. Change the folder's Blend Mode to Color Dodge and add a new layer in it. After that use the Smoke Brushes(if you have, otherwise download it). Then select white for the color and paint over some letters. Click the brush twice, if you think that the brush is little brighter.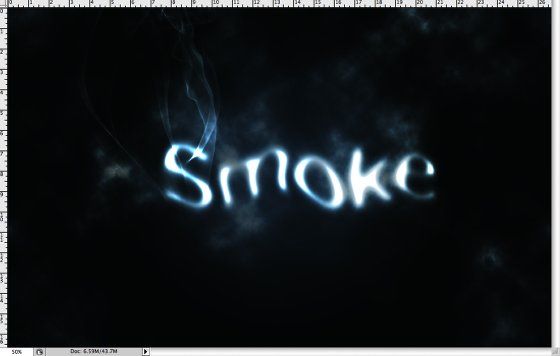
Step 7-
Now you have to paint more smokes just like in this image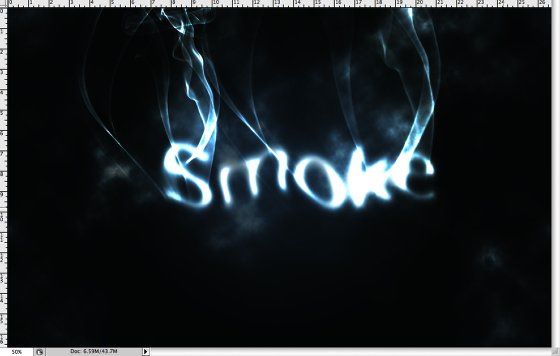
Step 8-
After doing all that create a new layer beneath all the other layers but in front of the Background layer. Then fill this layer with black and go to Filter > Texture > Texturizer. Use 100% for the Scaling and 4 for the Relief. And for the Texture use Canvas and Light use Top and it will add a nice texture to the image but you have to change its opacity to 10%.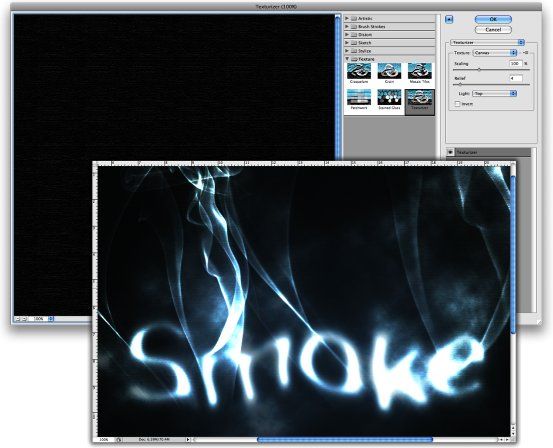
Step 9-
Well this is a new feature in the new Photoshop CS4, which is very useful because you can edit all the image adjustments like Levels, Hue & Saturation, Curves in Adjustments palette. But it just adds a Adjustment Layer, that could be done in the previous versions too. Now, on top of the other layers just add the Invert adjustment. And then go to Layer > New Adjustment Layer > Invert. It will be the same. By doing this you will get a very cool burning effect
And you are done
Tweet
I liked ur blog alot! learning photoshop is one of my likes. I downloaded the adobe photoshop but even when I follow your steps I didn't get the final amazing photo as u got it
ReplyDelete:(
for that you have to rise your level, just don't rush onto the higher level, you have to gain experience first. after that you will make difficult pics just like that :)
ReplyDeletekeep trying it.
Thikh thak hai bhai.....chalo manna hoga tu pgtoshop mein genuis hai........chal yaar aur bhi kuch interesting kar jai animals bna sakoge.......
ReplyDeleteThnx for ur support Parag , I'll try again =)
ReplyDelete