In this tutorial, I will teach you how to create an ice effect in text. Its a very cool effect and looks really nice.(click to enlarge)

So lets get started
So lets get started
Step 1-
First of all open photoshop and create a new document of size 1024 x 768. Double click on the layer and open its lock. After that double click on it again and from there go to gradient overlay. Gradient settings - #0001e #00649b #000533 as colors and make a linear gradient like this.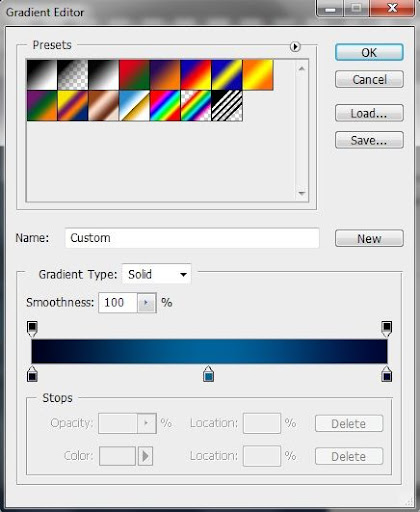

Step 2-
Now, write something there like I wrote "Ice" with Font as Arial and Color as Black. After that right click on the layer and Rasterize it. Then go to Filter > Liquify and use the Wrap Tool to edit the text and make it somewhat like this.
Step 3-
Now, keeping black and white as your foreground and background color go to Filter > Render > Clouds and again go to Edit > Stroke. Set the Width to 5px, Color to Black, Location to Inside and leave the rest of the settings to default. Then go to Filter > Blur > Gaussian Blur and set the Radius to 8px and hit ok. Your image will look somewhat like this.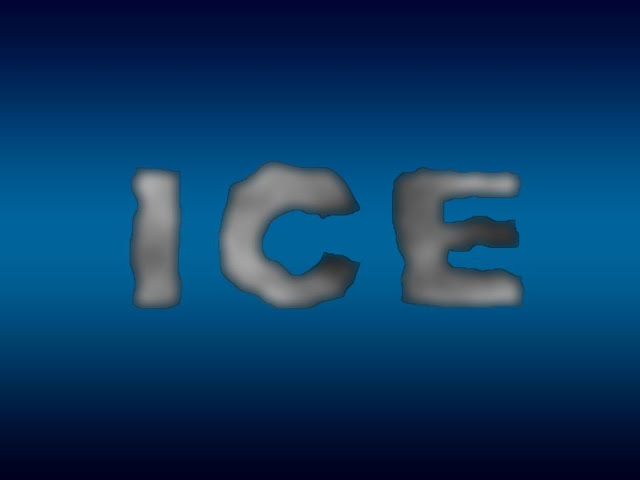
Step 4-
Now, make a copy of text layer and hide it. Then select the Duplicate Layer and go to Filter > Artistic > Plastic Wrap and apply these settingsHighlights : 15,
Details : 1,
Smoothness : 15
and press ok, now make the original text layer visible, then go to Filter > Sketch > Chrome and apply these settings
Details Value : 0 ,
Smoothness : 10
then change the Blending Mode of both layer to Overlay.
And you will get image like this.

Step 5-
Now, merge both layers(if its Blend Mode changes back to Normal then change it back to Overlay) and duplicate the combined layer and set its Opacity to 50%. Again merge the layers and duplicate it. Now select the duplicate layer and go to Edit > Transform > Flip Vertical and place it under the origial text like this.
Step 6-
Now, put a Vector Mask on the flipped layer and press "D" (for changing the foreground and background color to black and white). Then put black at the top and chose Gradient Tool. Choose the first option in types of gradient i.e. linear black and white. Then apply the gradient on the image and make it like this and you are doneTweet
Amazing!!
ReplyDeletethanks .. :)
ReplyDelete